Add a room
-
In the office panel go to Settings → Locations.
-
Click Add.
-
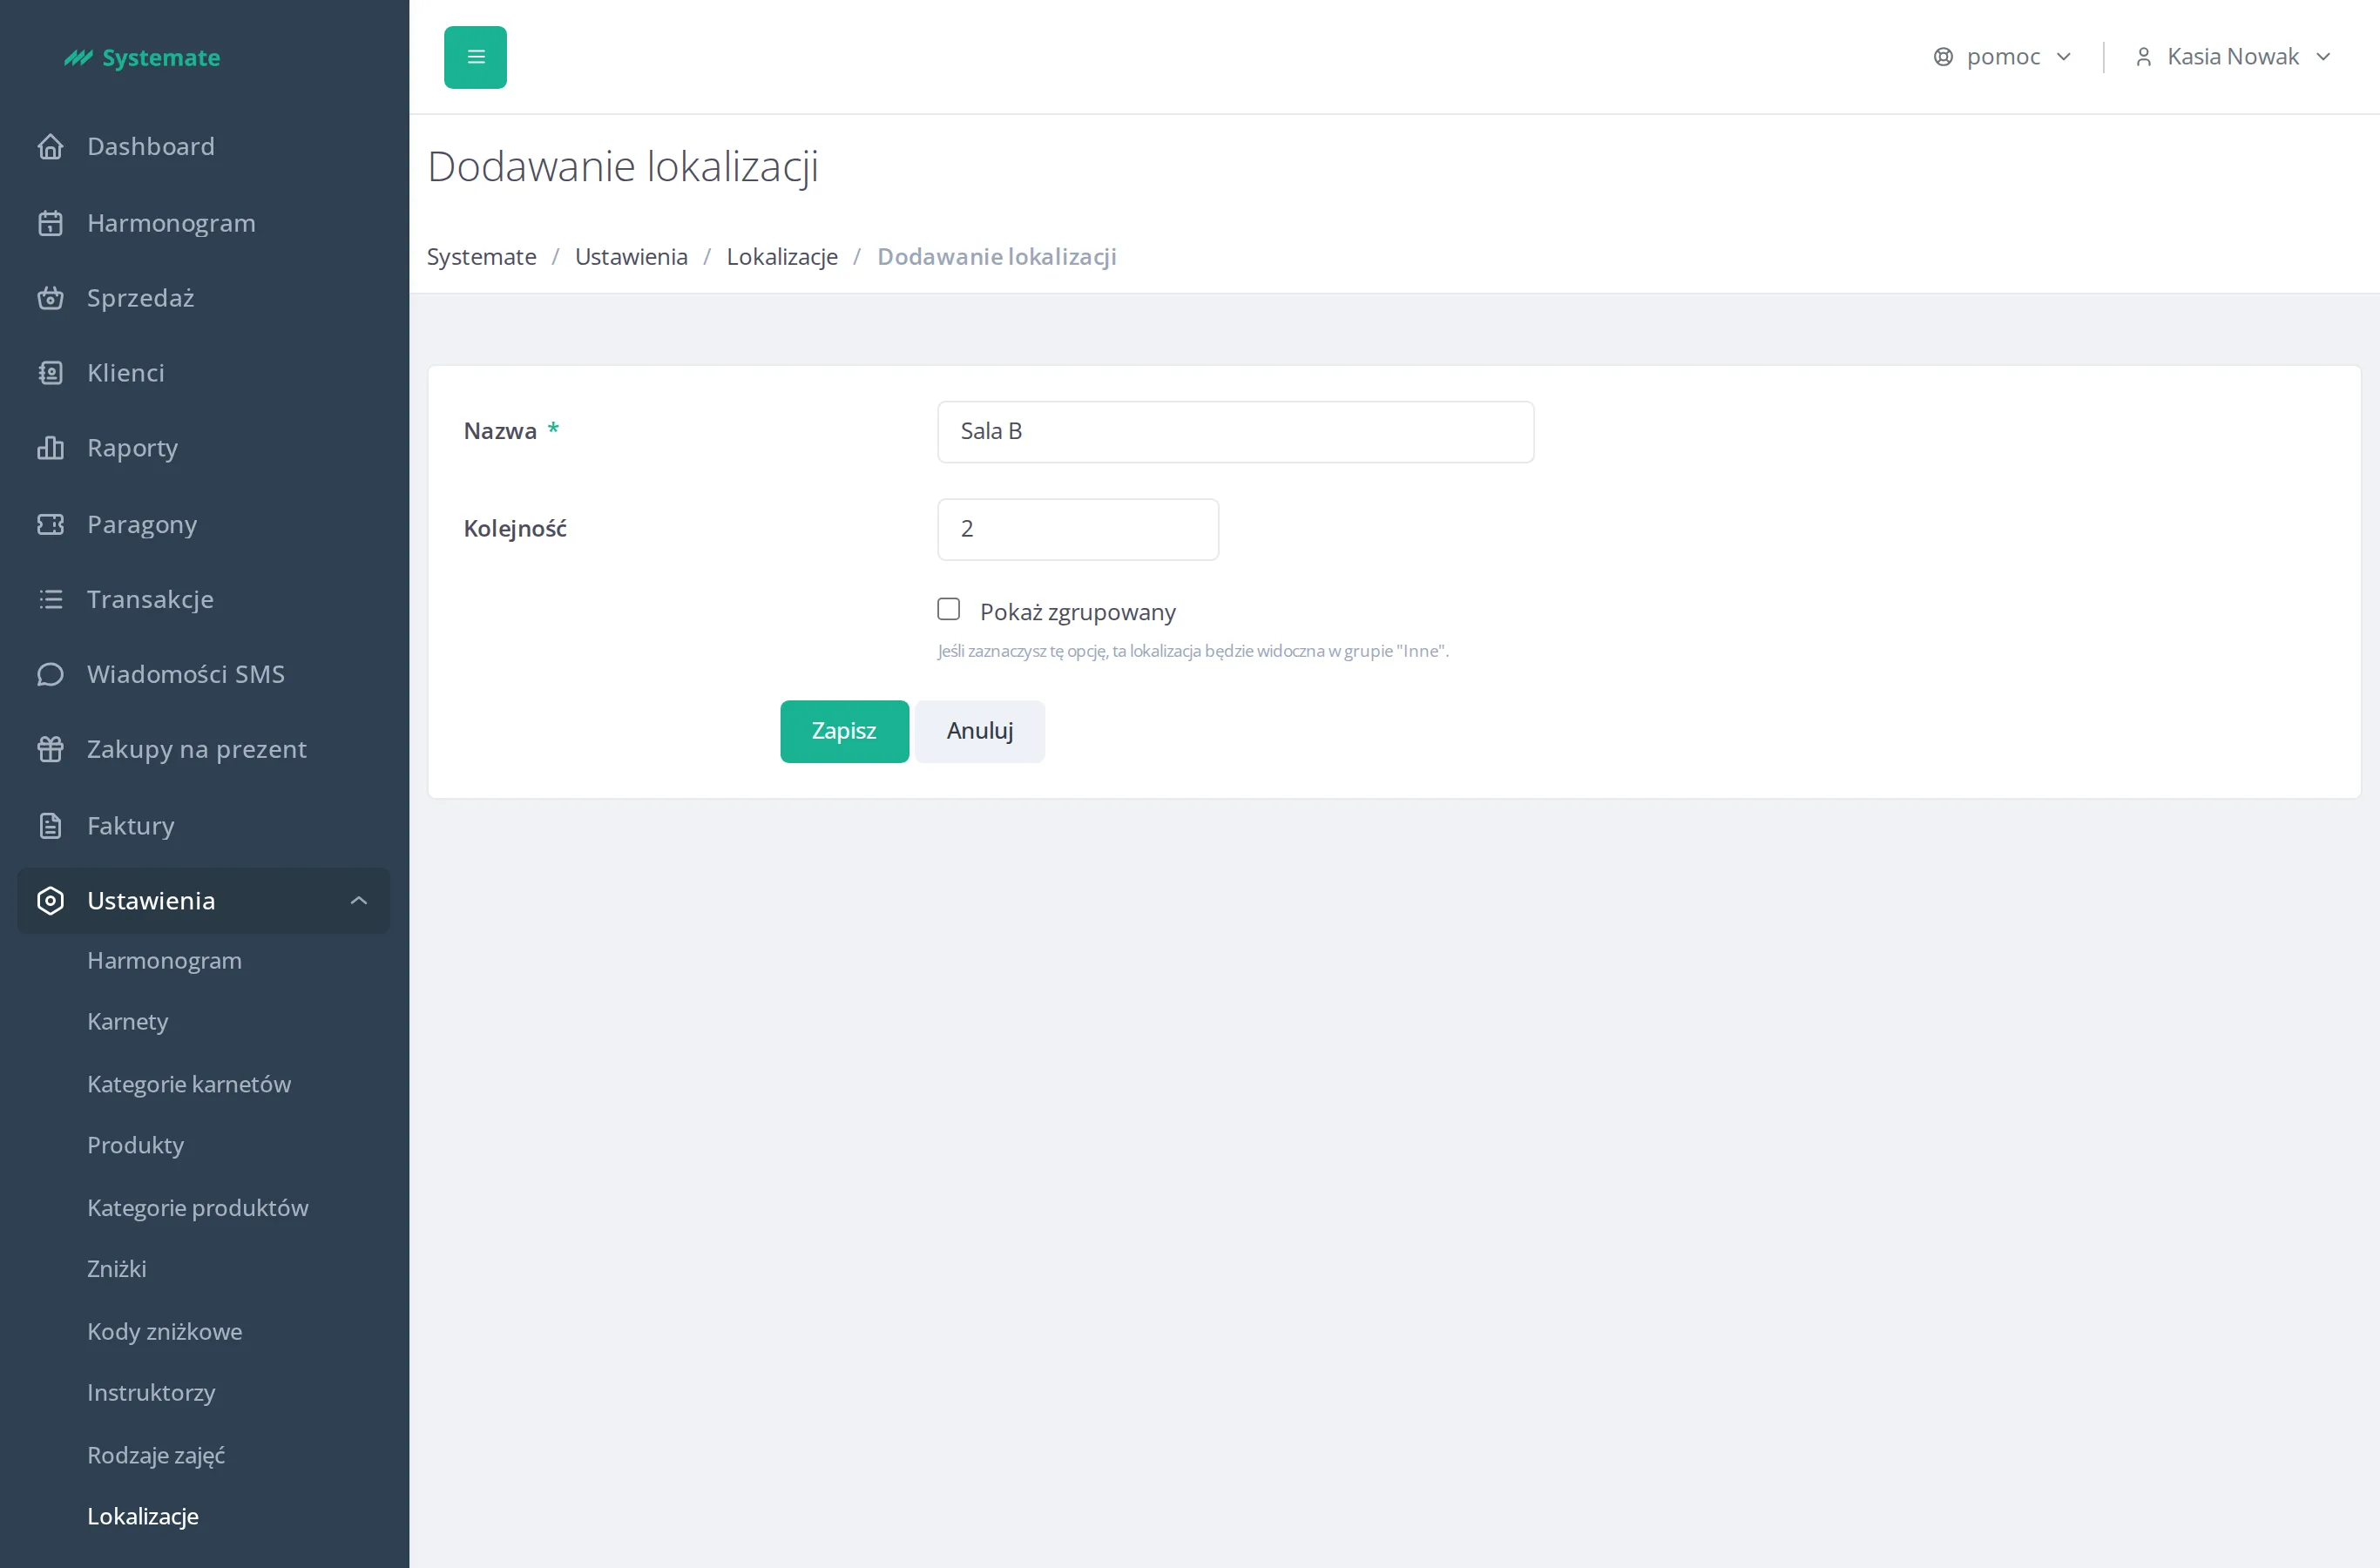
Fill in the form:
- Name (required) — must be unique,
- Order — a number that controls the position of the location in the list,
- Show in group — if you check this option, this location will be visible in the “Other” group on the schedule instead of getting its own column.
-
Click Save.
The room is now available as Location when you add a class — see Add a class to the schedule. In the daily schedule view each location gets its own column, and the location name is also shown on every class tile together with the attendance count.