Set your logo and invoice details
Settings → Configuration holds two things: the studio logo and the invoices configuration.
Change the logo
Section titled “Change the logo”The logo is used in the customer panel and in the e-mail templates sent to your customers. The section shows the currently used logo.
-
In the office panel go to Settings → Configuration, section “Logo”.
-
Click the file picker and choose a PNG or JPG file no larger than 5 MB. The logo uploads immediately — a confirmation appears when it is saved.
-
The image is scaled proportionally so it fits within 120 px height and 150 px width.
Configure invoices
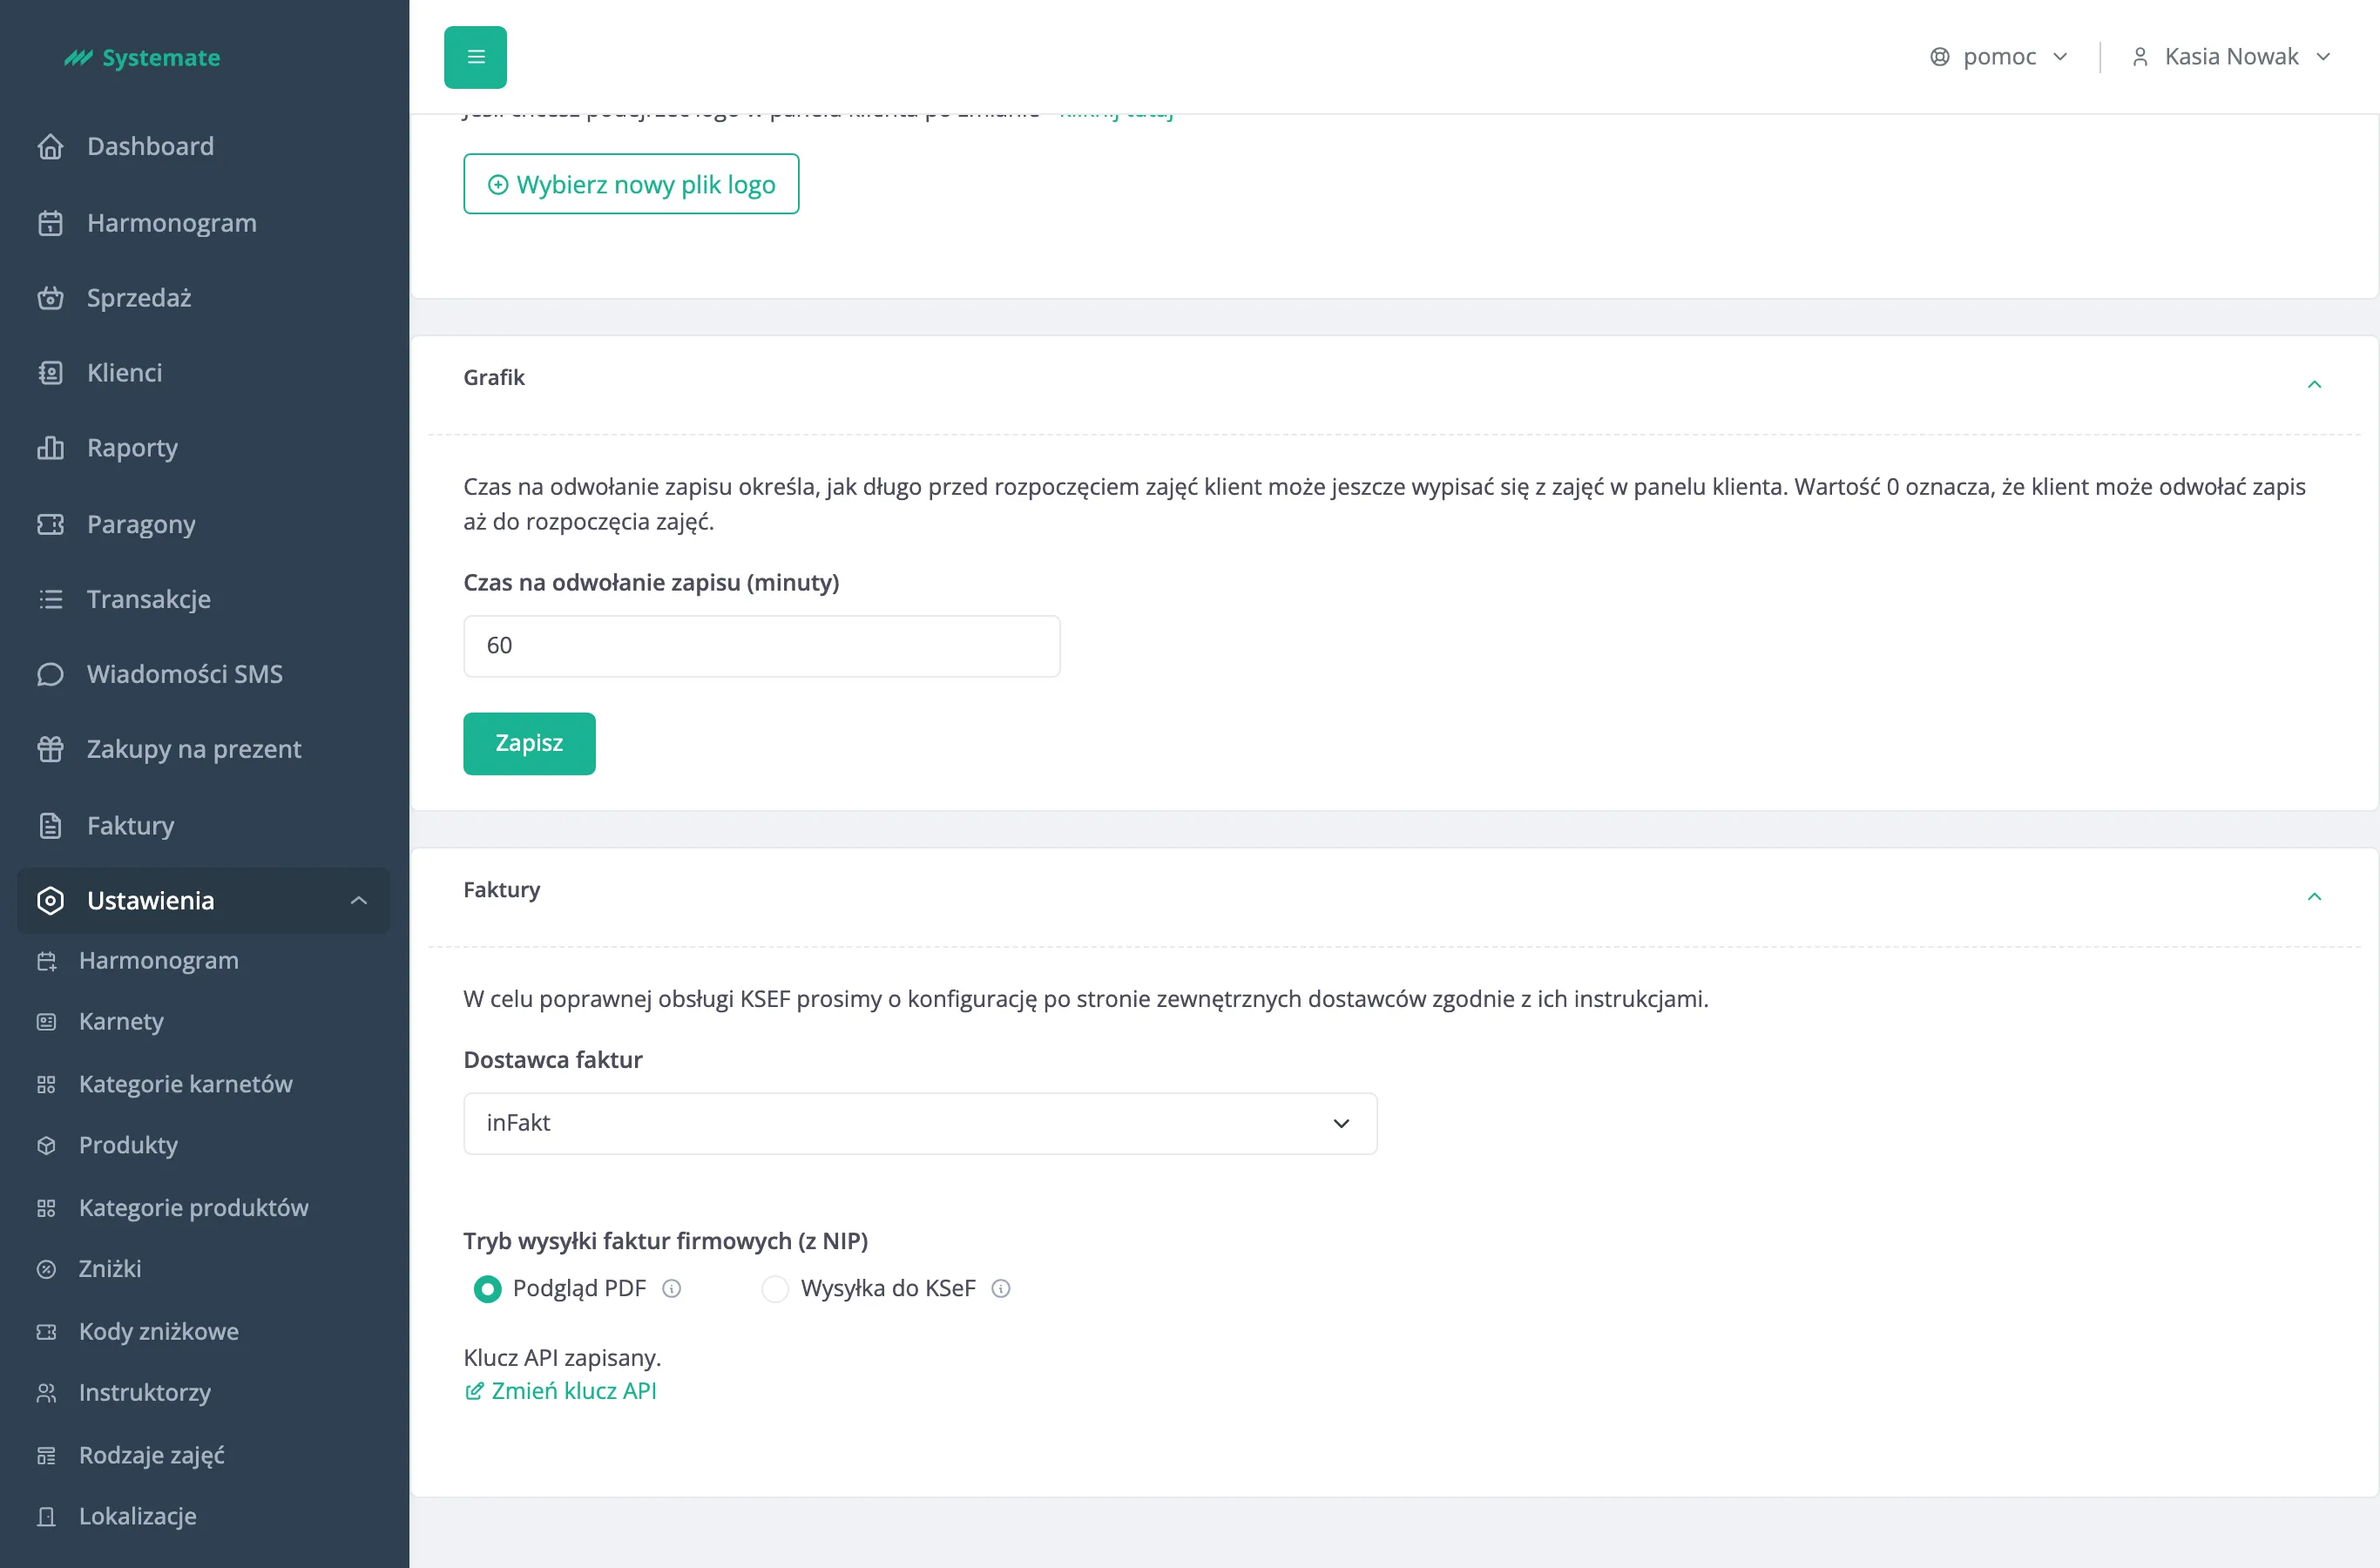
Section titled “Configure invoices”In the “Faktury” (Invoices) section you choose, per seller, how invoices are generated (if your studio has more than one seller, each gets its own settings):
- Pick the invoice provider from the dropdown:
- disabled — no invoices are generated,
- local — invoices generated by the system, without KSeF,
- Fakturownia,
- inFakt,
- WFirma and iFirma are listed as coming soon.
- Fakturownia and inFakt need an API key from your account with that provider. Enter the key, use the test button to verify the integration works, then save. Once saved, the key can be replaced later with the change-API-key link.
- With inFakt you also choose how invoices for companies (with a VAT ID) are delivered:
- PDF preview — the customer gets an e-mail with a link to the PDF invoice,
- sending to KSeF — company invoices go to the national e-invoicing system (KSeF) and the customer is notified by e-mail; invoices for private individuals are still sent as PDF. This option requires the KSeF integration to be active in your inFakt account. The whole setup, step by step: Send invoices to KSeF.