Set holidays and closures
-
In the office panel go to Settings → Holidays.
-
Click Add.
-
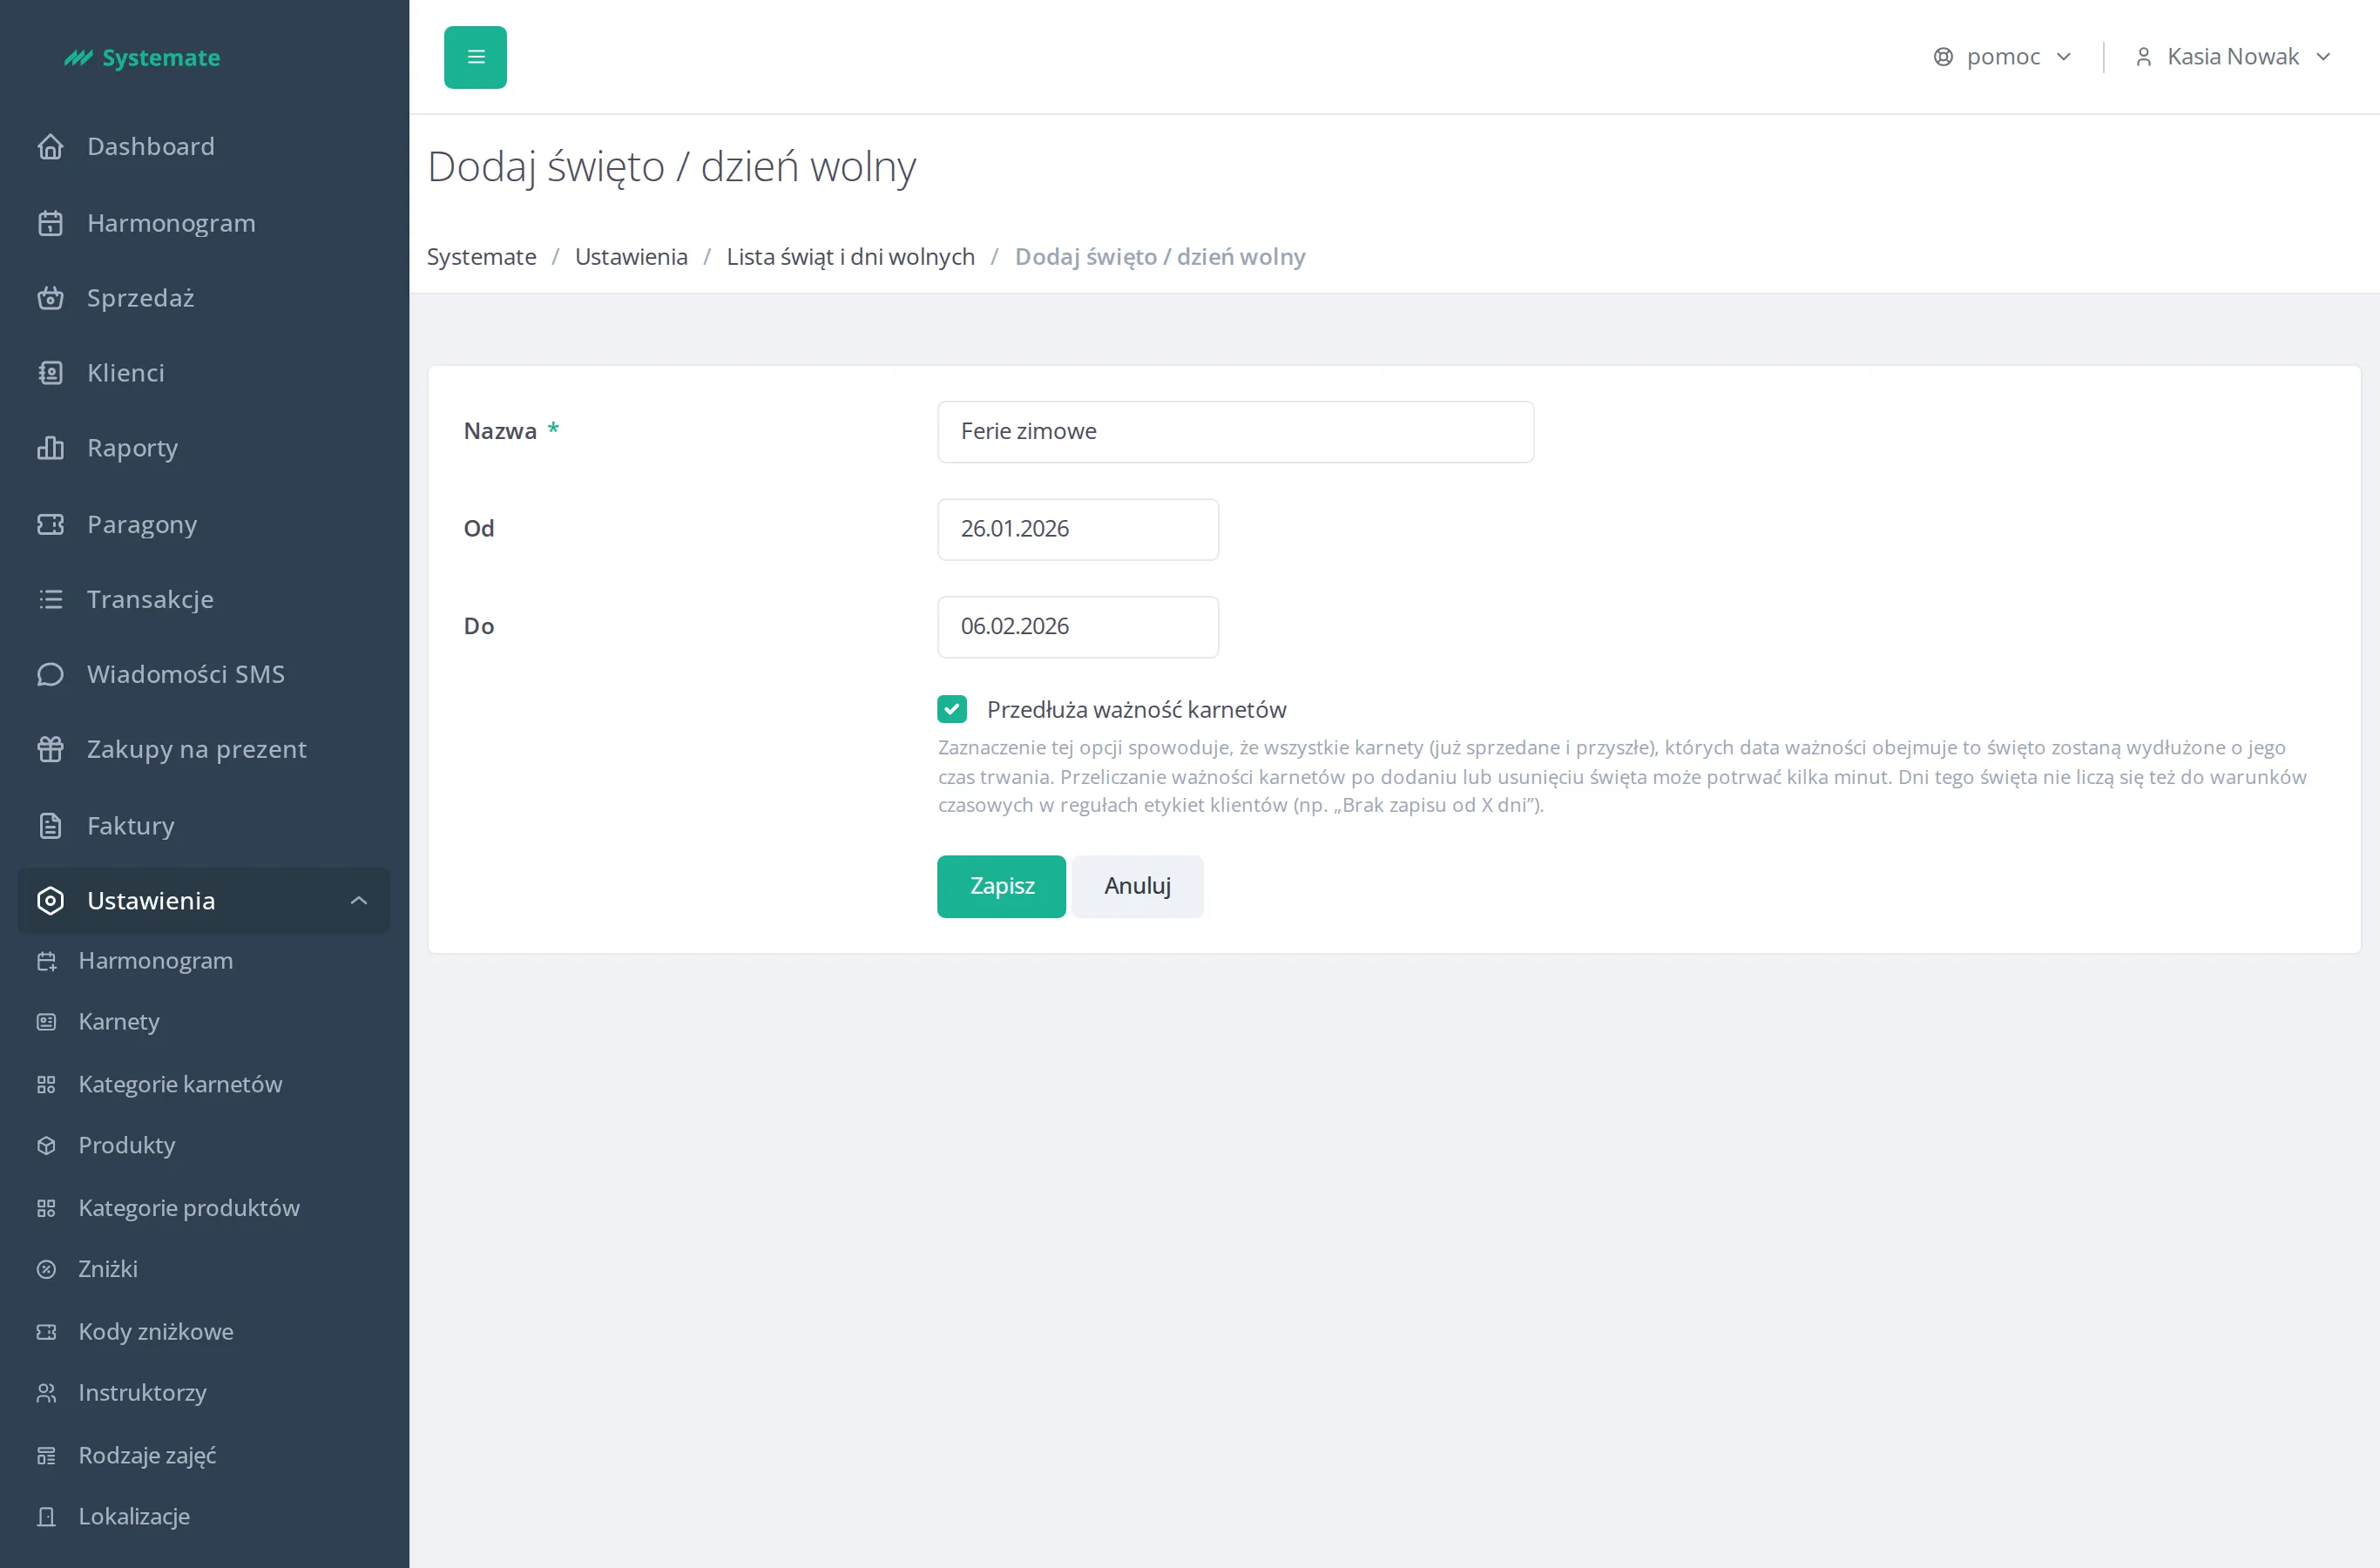
Fill in the form:
- Name (required) — e.g. the holiday name or “Summer break”,
- Start date and Date to — the period of the closure (the end date cannot be before the start date),
- Extends passes validity — check it to extend all passes (already sold and future) whose validity includes this holiday by its duration. The days of such a holiday also do not count toward the conditions counted in days in customer tag rules (e.g. No sign-up for X days) — see Manage customer tags.
-
Click Save.
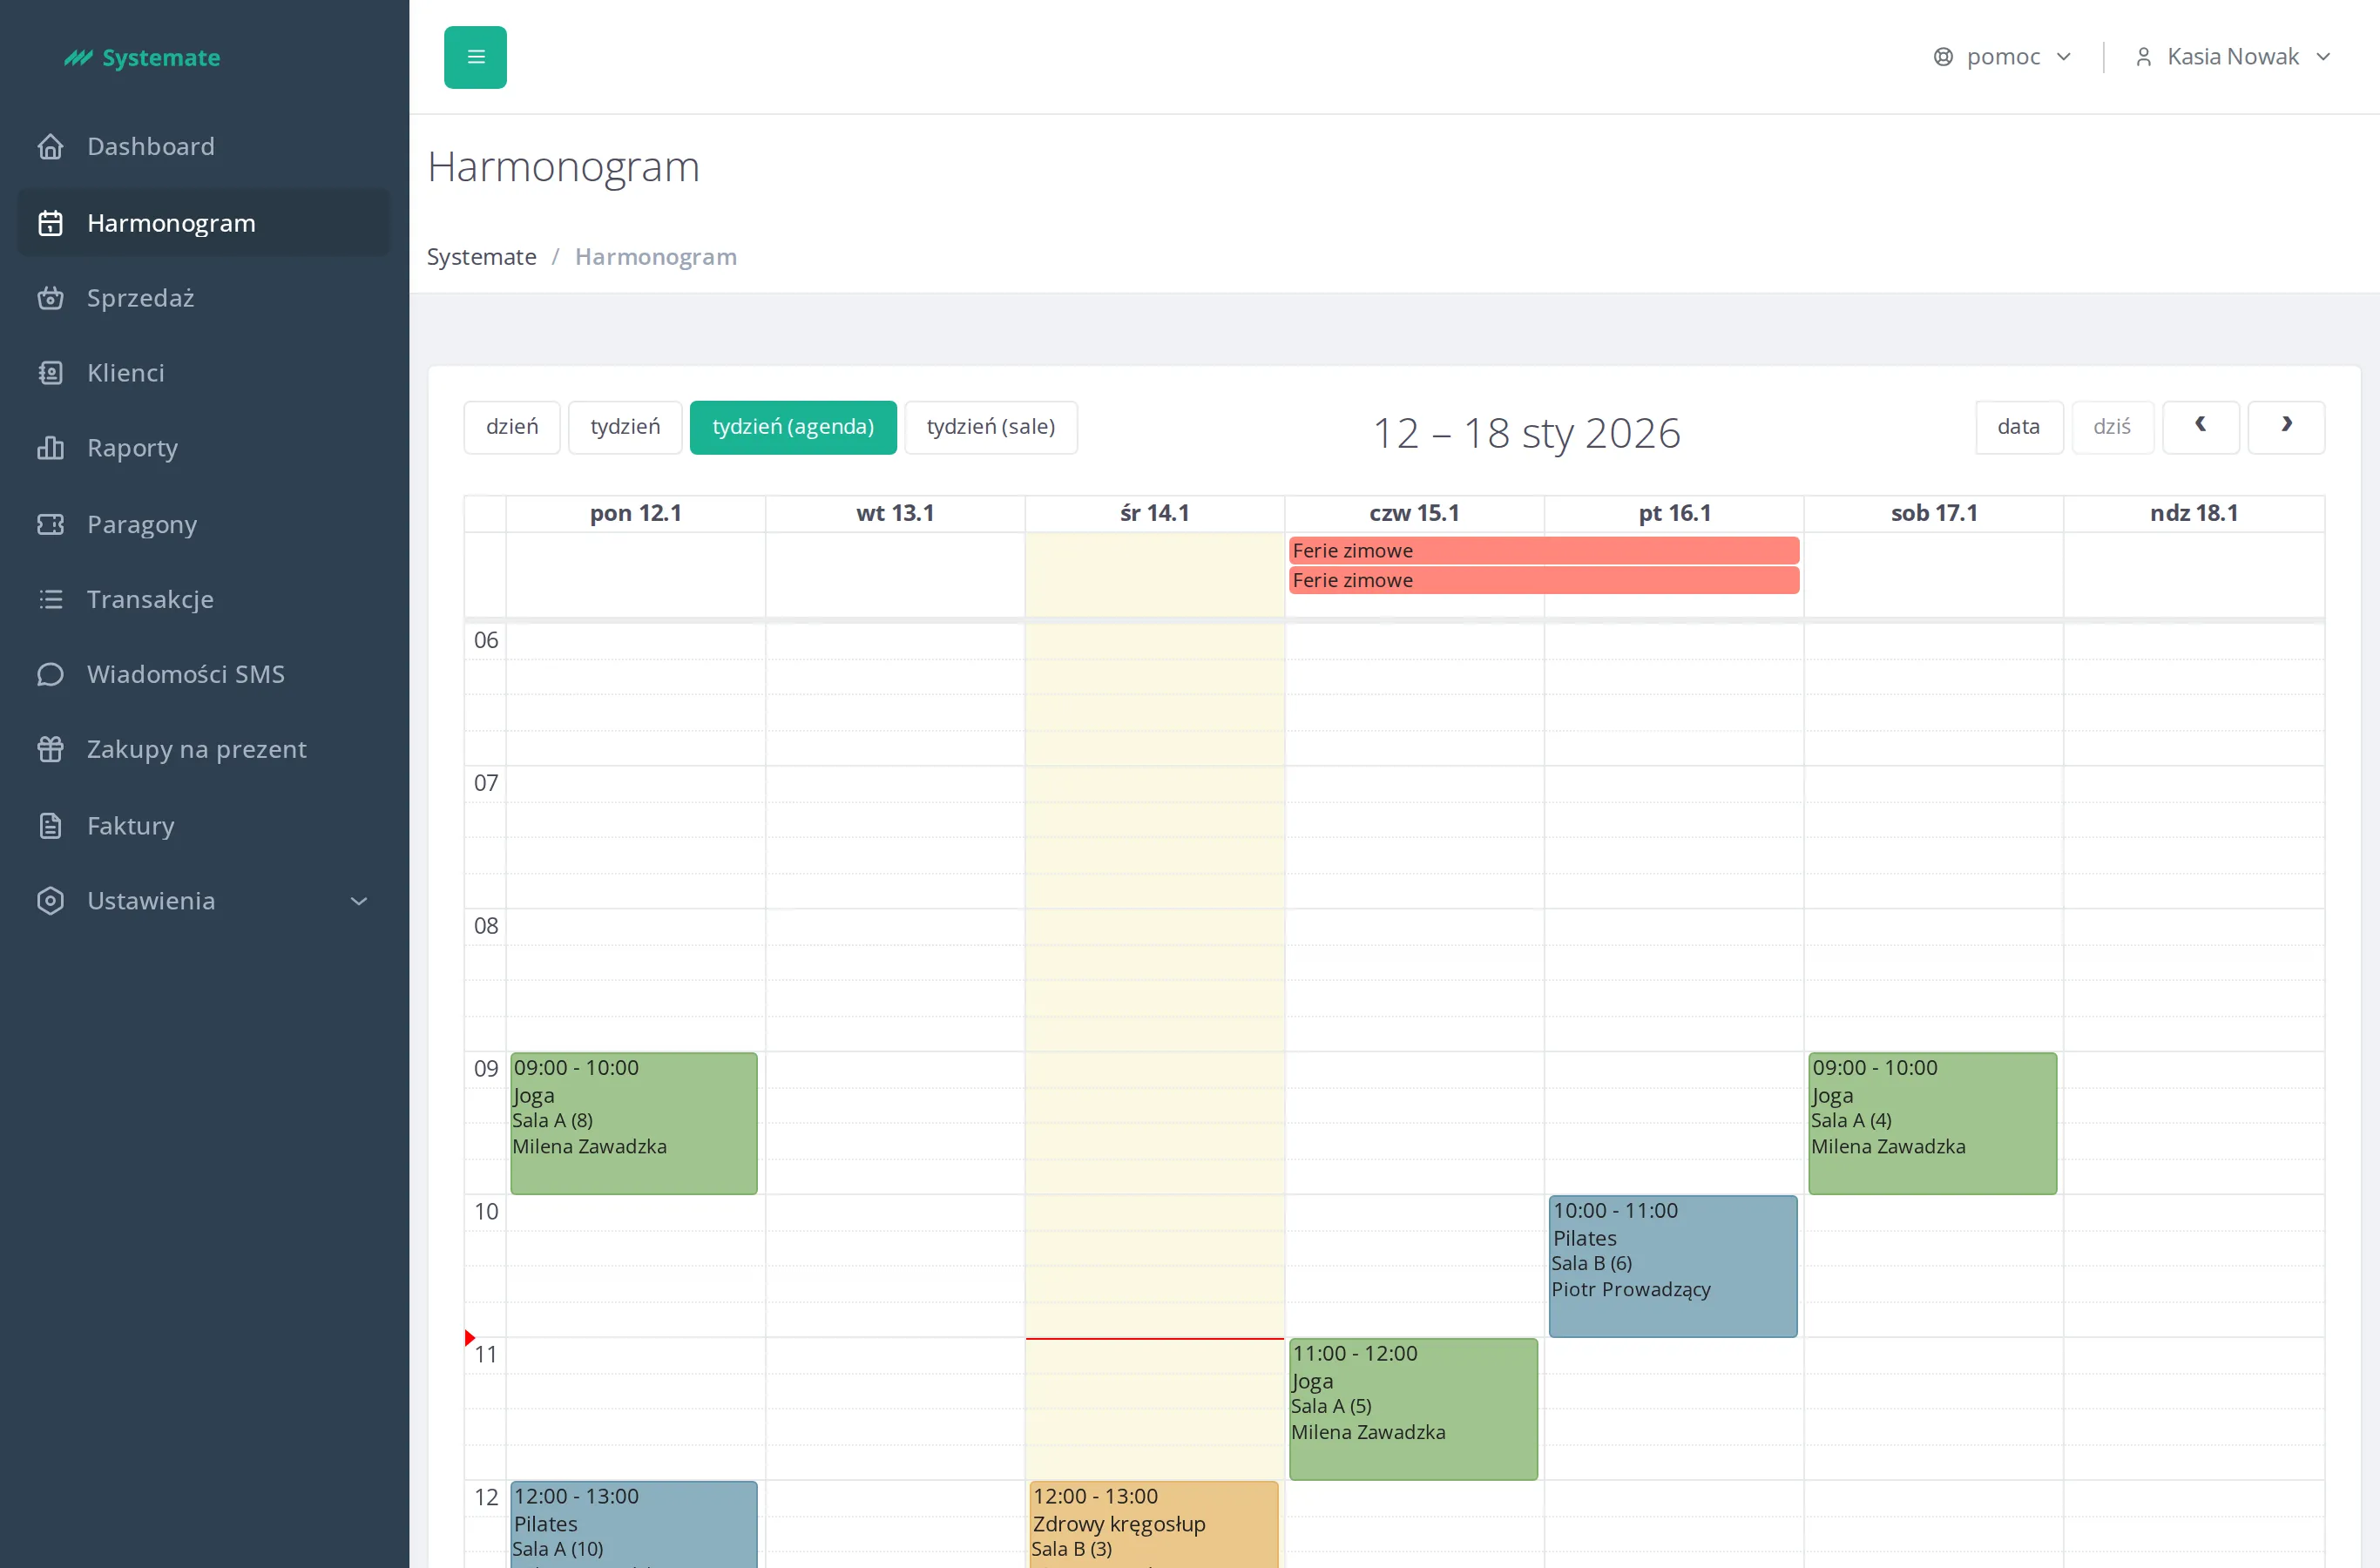
The holiday appears on the office schedule as an all-day banner across all locations for the whole period, so staff can see the closure while planning classes.